Edit an existing MARC specification
To make changes to the MARC specification:
- Navigate to Maintenance > Cataloguing > Edit MARC Specification.
- Select the MARC specification to be edited, and click the Download button.
- An .XML file will download to the default Downloads folder.
- Edit the .XML file, and then click the Upload button to upload the updated specification.
Retrieve the latest Library of Congress MARC standard specification
Click Retrieve latest from LoC to download the latest MARC standard.
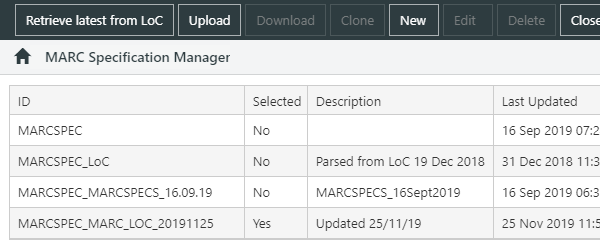
Existing MARC specifications may be Cloned, or Deleted, by clicking to select them, then choosing the relevant option from the action bar. The current active MARC specification cannot be deleted.
Select a specification and click Download to download it the default Downloads folder.
Click Upload to upload a specification.
Click New to create a new specification from scratch.
Select a specification and click Edit (or double click it) to make changes to it.
The default MARC specification may be selected using Select MARC Specification.
Currently, three formats are supported in the MARC specification: bibliographic, authority and community information.
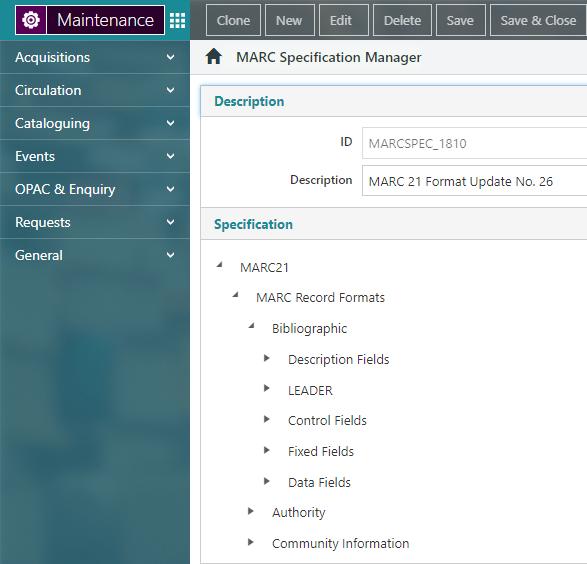
Description Fields
Right-click the Description Fields node, then click New to add a new field. Alternatively, select the Description Fields node and click the New button.
Right-click one of the description fields and then click :
- Edit to edit it,
- Delete to delete it, or
- Clone to create a new field based on the selected one.
Alternatively, select the desired field want, then click Edit, Delete or Clone in the action bar. The clone option isn't commonly used for Description Fields, but has been maintained for consistency with other fields.
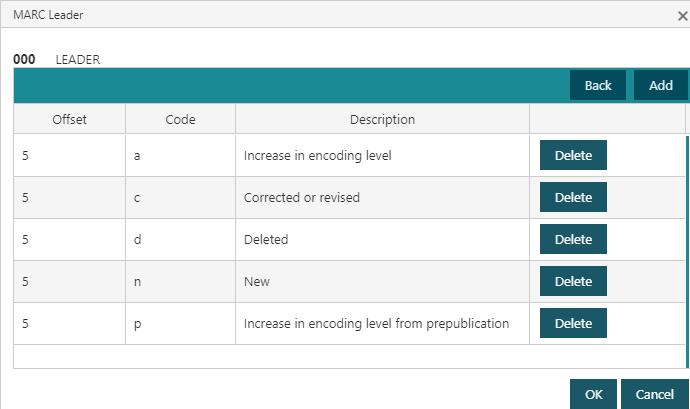
Leader
To edit the Leader node, right-click it then click Edit, or select the Edit node then click the Edit button.
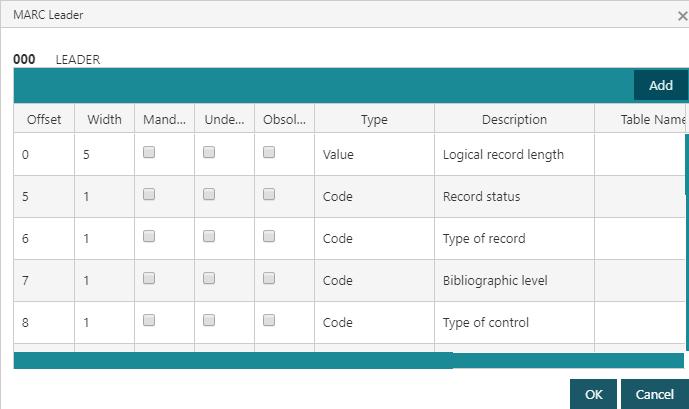
Click Add to add a new offset to the list.
Click the cursor in the column to be changed.
- Offset. This indicates the relative position of each subfield starting from character position 0. All data elements have a fixed position and width (number of characters).
- Width. This indicates the maximum number of character positions for this subfield, e.g. if the subfield has an offset of 0 and is 6 character positions width, it will occupy character positions 0,1,2,3,4,5 in the fixed field.
- Mandatory. If this is selected then any occurrence of this field must contain this subfield.
- Undefined. If this is selected it means that there is no definition for this subfield but the character positions will still exist.
- Type. There are a number of options for this in a drop down list for all subfields in fixed fields: code, value, date, table, text value and any value. The selection determines how the data input in this subfield is validated (if at all).
- Description. The description for the content of this subfield.
- Table name. If the Type is "Table" this must contain a name for the table.
- Path. If the Type is "Table" this must contain the pathname (location) for the table e.g. \tables\language.txt.
Right-click a row, then click Delete to delete it, or scroll to the right and click the Delete button.
If the Type is "Code", the Codes option will appear in the right-click menu. Click this to make changes to the codes for an offset. Click Add to add a new code to the list. Click Back to go back to the list of offsets.
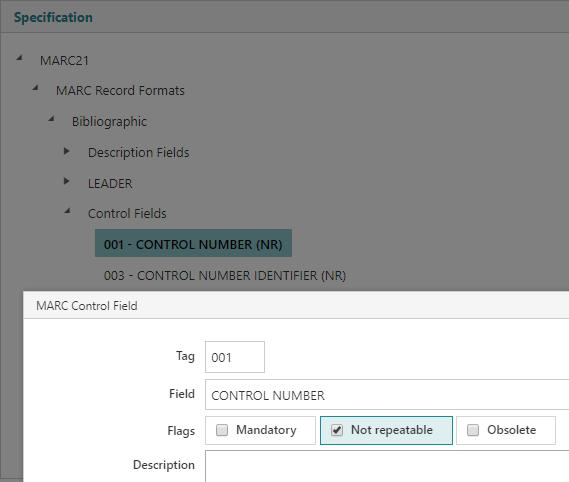
Control Fields
To add a new field, right-click the Control Fields node, then click New, or select the Control Fields node and click the New button.
Right-click one of the control fields and then click Edit to edit it, Delete to delete it or Clone to create a new field based on the selected one. Or select the field you want and then click the Edit, Delete or Clone button.
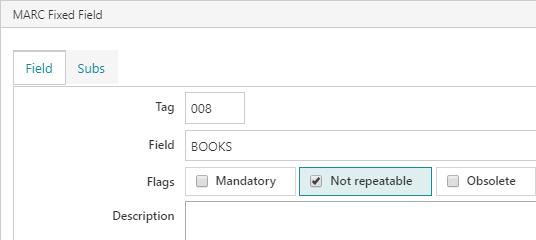
Fixed Fields
To add a new Fixed Field, right-click the Fixed Fields node then click New, or select the Fixed Fields node and click the New button.
Right-click one of the fixed fields and then click Edit to edit it, Delete to delete it or Clone to create a new field based on the selected one. Or select the field you want and then click the Edit, Delete or Clone button.
Click the Subs tab to add, edit or delete the subfields.
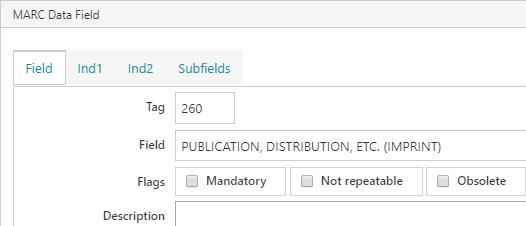
Data Fields
Right-click the Data Fields node and then click New to add a new field. Or select the Data Fields node and click the New button.
Right-click one of the data fields and then click Edit to edit it, Delete to delete it or Clone to create a new field based on the selected one. Or select the field you want and then click the Edit, Delete or Clone button.
Click the Ind1 or Ind2 tab to add, edit or delete the values for an indicator, and click the Subfields tab to add, edit or delete the subfields.