In This Topic
Users can create SavedLists throughout Staff Enquiry, and the other web modules, in order to return to a list of records to complete a process with them. For example, you might use SavedLists for cataloguing, processing orders, bulk item deletion or item maintenance. They can also be used to display records in containers in your OPAC.
SavedLists are saved to the User record and can be emailed, downloaded or saved permanently. They can be accessed either through the User record, or through the SavedList Search page in Staff Enquiry.
Saving a new SavedList
Let’s try creating a new SavedList in Staff Enquiry.
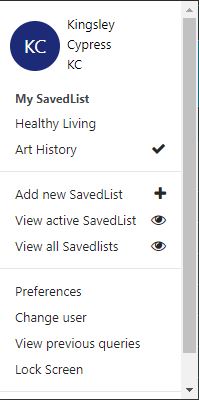
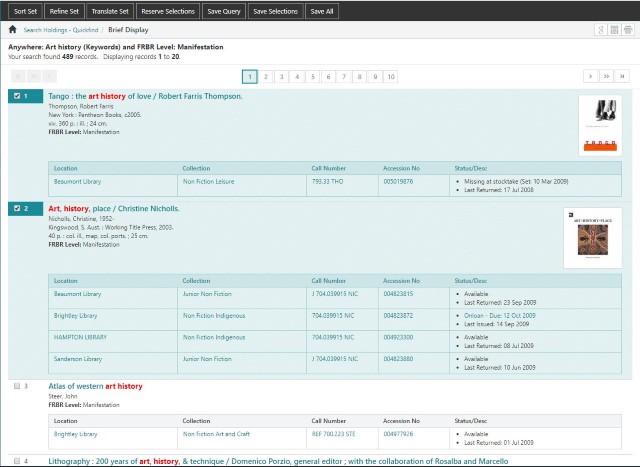
- In this example we’ve searched for “art history”. Click the down arrow next to the User name in the top right hand side of the screen. This will display all your current SavedLists as well as options related to the User.
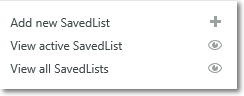
- Click Add new SavedList.
- Enter a description of your SavedList, and if desired select a Record format (requires Spydus 10.9+).
- Selecting a Record format will allow refining, translating and sorting options based on the selected record type
- Records other than the selected format cannot be added to a list (e.g. Item records may not be added to a SavedList where Bibliographic is the selected format)
- Click Add.
- If you return to the User account, you will see the Art history SavedList is now selected
- You can then use any of the following methods to add records to your new SavedList.
- Click the checkbox next to the records you want. The selected titles will change colour and the checkbox will be ticked.
- Click Save Selections. Each record you save will now have a “record saved” flag next to the title.

- Click Save All to save the complete record set to the SavedList. All the records will now display the “record saved” flag.
Working with SavedLists
From the User account dropdown, you can add a new SavedList, or edit and delete your existing SavedLists.
Adding records to the active SavedList
By default the most recent SavedList you’ve created is the active one. Let’s try adding records to the active SavedList.
- Search and find a set of records.
- Do one of the following:
- Click the Save All button to save all the records to the SavedList.
- Click to select the records you want and then click Save Selections.

You can change the active SavedList by clicking on any SavedList name in the User Account dropdown. Your selected SavedList will be ticked.
Viewing your active SavedList
To view the records in your active SavedList:
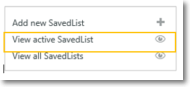
- Click View Active SavedList on the User account dropdown.
- Here you can see the formats for downloading or e-mailing the records in a SavedList. Since this is the Staff Enquiry view rather than the OPAC view, you’ll see that there are more formats.
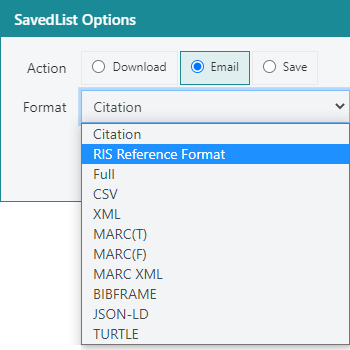
- Citation - This format is suitable as a brief reference to the works selected.
- RIS Reference Format - Suitable for export for citations and bilbiographies
- Full - This format includes all the available information about the works selected.
- CSV - This format is suitable for display in spreadsheet or database applications.
- XML - The output will be directed to a new browser window.
- MARC (T) - MARC text. A MARC record but with MARC field and sub-field delimiters have been replaced with linefeeds and the ‘#’ character.
- MARC (F) - MARC file. Raw MARC record. Not suitable for immediate display.
- MARC XML - XML file in the MARC/XML format.
- BIBFRAME - RDF/XML file using the BIBFRAME standard.
- JSON-LD - RDF/XML file format
- TURTLE - RDF/XML file format
Some formats are only available with a minimum Spydus server version:
- RIS Reference Format requires Spydus 10.9.1 or higher
- BIBFRAME requires Spydus 10.5.1 or higher
- JSON-LD and Turtle require Spydus 10.6.1 or higher
If you select MARC (F) as format then MARC (F) Holdings is enabled. You can use this to output holdings data. These displays are all controlled using parameters.
OCLC pica ILL is the same format as used in the Z39.50 server (holdings data in tag 852). For example:
852 aCOLbAFzOn Order (Pending: 30 May 2015).
Libraries Australia outputs summary holdings data in tag 984 $a and $c only. For example:
984 aCENTRALcHeld
Detailed Holdings will download the holdings for all branches in multiple 852 tags. For example:
852 ♯aVBAY♯bNon Fiction Countries♯h711.55♯mMACG♯pQ006000685R
852 ♯aWES♯bNF♯cD♯h711.55♯mMACG♯pQ005934884R
852 ♯aVBAY♯bNon Fiction Countries♯h711.55♯mMACG♯p006000685
852 ♯aVBAY♯bNon-Fiction♯h711.55♯mMACG♯p005934884
Sorting, Refining & Translating a SavedList
If a Record format has been selected when adding a new SavedList, it is possible to perform filtering and sorting of the records. To do so;
- Select the SavedList from the User account dropdown menu, then click View active SavedList.
- At the SavedList Brief Display, the following options will be available;
- Sort Set
- Refine Set
- Translate Set
- Click the desired option to apply desired changes to the records in the set.
Note: Making changes in this way does not change which records are in the SavedList. If after sorting/refining/translating the set is to be retained, a new SavedList or SavedQuery must be created.
Let’s try e-mailing the records in our SavedList.
- Select the E-mail option.
- Select the Format you want.
- In the E-mail to box, type the e-mail address.
- In the Subject box, type the text to appear as the subject of the e-mail.
- Click Submit. The button will change to say “Sending email now”. When it reverts to say Submit then the email will have been sent.
To download the records:
- Select the Download option.
- Select the Format you want.
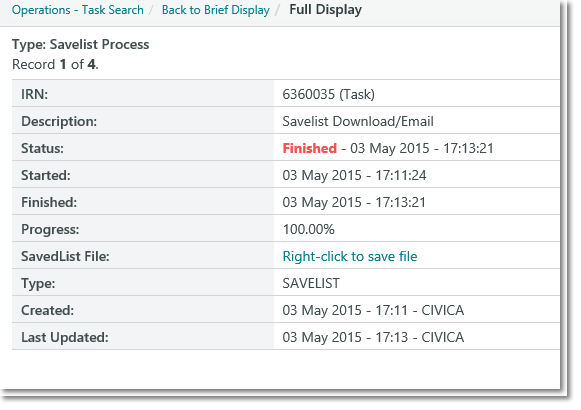
- Click Submit. A new browser tab will open, showing the task record. Details are refreshed until the task is completed.
- You can do either of the following:
- Left-click the Right-click to save file link to open the file in your browser window. Use your browser functions to print the file.
- If you want to save the file, right-click the Right-click to save file link, and then click Save Target As
Maximum number of records to export from a SavedList
This feature requires server version 10.5.1 or higher.
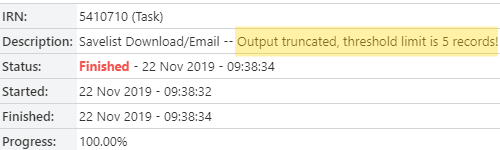
A limit may be set to the number of records that may be exported (downloaded, emailed) from a SavedList. If the SavedList contains more than the maximum number of records that may be exported, the file will be truncated to the limited number of records.
|
Please contact Civica Support for assistance as commissioning is required. |
Viewing all SavedLists
To view all your SavedLists:
- Click View all SavedLists on the User account dropdown.
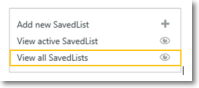
- A list of the SavedLists for the current User will be listed.
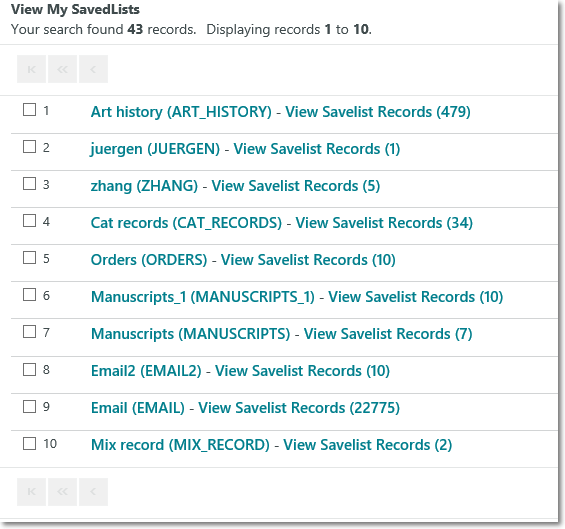
- Click the link BEFORE the hyphen (i.e. the description) to display the SavedList. Click the link AFTER the hyphen — View SavedList Records — to display the records in the SavedList.
Creating permanent SavedLists
Containers in the OPAC can use permanent SavedLists to display lists of items or cover images in a gallery.
|
A permanent SavedList is sometimes also referred to as a global SavedList. |
To create a permanent SavedList, first create a SavedList using the workflow above.
- Click on View active SavedList to open the SavedList options display.
- Select the Save radio button. This will open the SavedList ID and Description fields.
- Enter the SavedList ID and Description. The ID needs to be unique to be saved as a permanent SavedList.

- Click Submit and this SavedList is now a global SavedList.
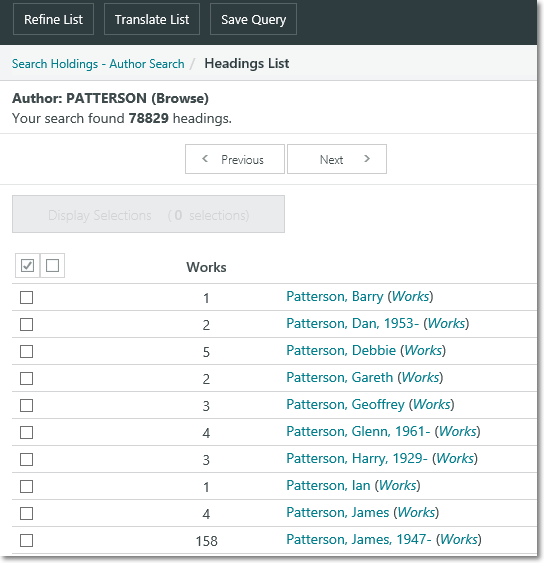
Save Selections and Save All options
You will only see Save Selections and Save All when you are looking at records. In the example below we’re looking at headings rather than records, and so we don’t see those two options.
Viewing e-mail/download tasks
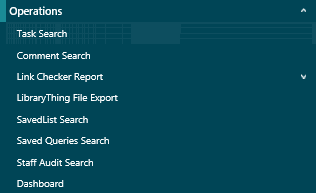
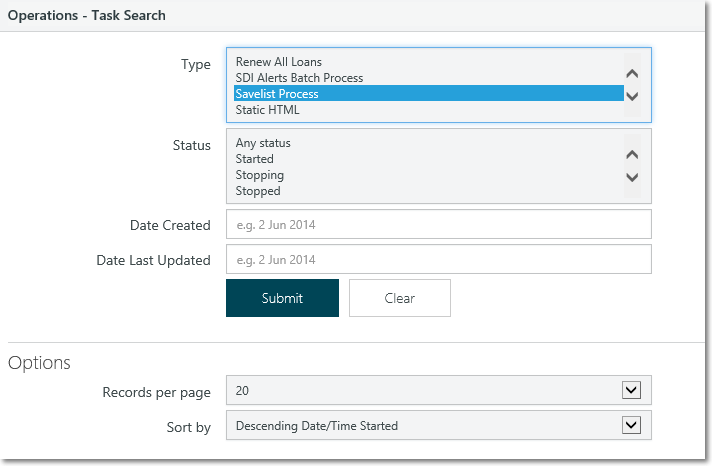
We’ve seen how e-mailing and downloading a SavedList is a background task. You can search for these tasks by clicking Operations, Task search, and selecting SavedList process from the Type box.
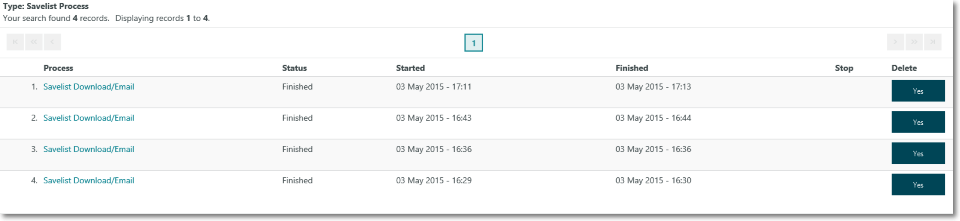
Click on a Process link to display more details, for example:

Do one of the following:
- Left-click the Right-click to save file link to open the file in the browser window. Use your browser settings to print the file.
- If you want to save the file, right-click the Right-click to save file link, and then click Save Target As.
Removing records from a SavedList
To remove records from a SavedList:
- View the active SavedList.
- Do one of the following:
- Click Remove All to remove all the records from the SavedList. This also deletes the SavedList.
- Click to select some records and click Remove Selections.
Deleting a SavedList
To delete a SavedList:
- Select View all SavedLists from the User Account dropdown.
- Do one of the following:
- To delete more than one SavedList, select the checkboxes for those you want to delete and click Delete Selections.
- To delete a single SavedList, click the link BEFORE the hyphen (i.e. the description) to display the SavedList, and then click Delete SavedList.
Reserving titles in a SavedList
You can also reserve titles in a SavedList. Click Reserve All to reserve a copy of each title, or select the checkbox next to the records you want and then click Reserve Selections.
Any reservation placement charge will depend on the number of titles required. Here is an example to show how it works. Say we reserve three titles. If the placement charge for the first title is $1.30, the placement charge for the second is $0.60, and the placement charge for the third is $0.60 then:
- If you set Titles required to 1 then the placement charge will be (1.30 + 0.60 + 0.60) * 1/3 = $0.83.
- If you set Titles required to 2 then the placement charge will be (1.30 + 0.60 + 0.60) * 2/3 = $1.67.
- If you set Titles required to 3 then the placement charge will be (1.30 + 0.60 + 0.60) * 3/3 = $2.50.
Typically the reservation policy would be based on the borrower category and so the placement charge for each title would be the same. For example, if the placement charge for each of our three titles is $0.60 then if you set Titles required to 1 the placement charge will be (0.60 + 0.60 + 0.60) * 1/3 = $0.60.
See Also