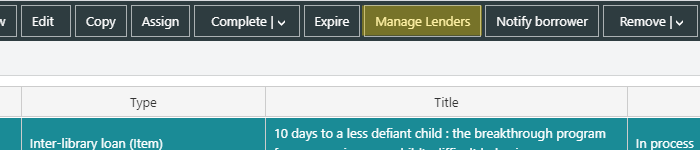
Once an ILL request has been linked to a bibliographic record, the Manage Lenders button will be available;
- on the action bar of the list view when the request is highlighted, and
- on the action bar in the Edit request interface
Click the button to manage the lenders for the request.
Add a new lender
To add a lender for an ILL request:
- Click Add or right-click and click Add.
- Click Search to display the search page, find the lender you want and click Select Record at the Full Display.
- Click Save & Close.
Sort the list of ILLs
You can sort the list of ILLs by clicking a column heading. For example, if you want to sort by the date required, click the Required Date column heading once to sort the list in ascending order and then click a second time to sort in descending order.
Select ILLs in the list
To select one ILL:
- Click the checkbox next to the ILL you want.
- Click anywhere in the row except the checkbox. This will automatically deselect any other ILLs that are currently selected.
To select multiple ILLs:
- Click the checkbox next to each ILL you want.
- Use SHIFT+Click to select consecutive ILLs. Click anywhere in the row except the checkbox. Click the first row you want, press and hold SHIFT and then click the last row you want.
- Use CTRL+Click to select specific ILLs. Click anywhere in the row except the checkbox.
Select or deselect the checkbox in the first column heading to select or deselect all the ILLs.
View an ILL
To view details of an ILL for a lender:
- Select the ILL you want.
- Click View or right-click and click View.
Edit an ILL
To edit details of an ILL for a lender:
- Select the ILL you want.
- Click Edit or right-click and click Edit.
- Make your changes, and then click Save & Close.
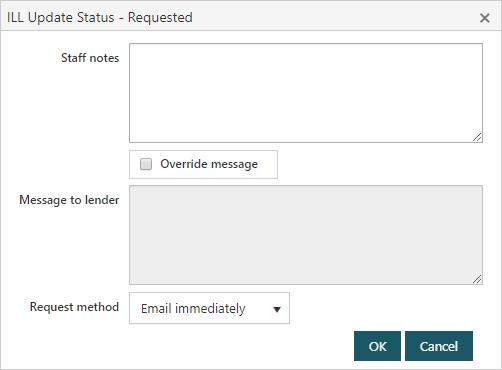
Request an item from a lender
When you’re ready to request an item from a lender:
- Select the ILL or ILLs you want.
- Click Requested. This enables you to leave notes for staff if required, notes for the lender, and to transmit the request.
- Click OK.
Mark an ILL as "Shipped from lender"
If the lender provides notification that they have shipped the item you can change the status of the ILL to "Shipped from lender".
- Select the ILL or ILLs you want.
- Click Shipped from lender. This enables you to leave notes for staff if required.
- Click OK.

Mark an ILL as "Received as loan"
Once the item has been received:
- Select the ILL or ILLs you want.
- Click Received as loan.
- Assign an accession number, and set the location, collection and date the item is due back at the lender. This creates the item record in Spydus. You can add notes for staff if you wish.
- Click OK.
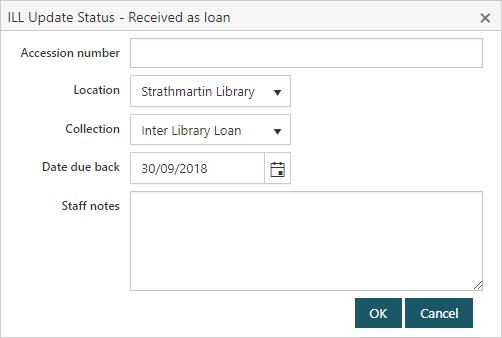
The default collection and default status for ILL items are set in the General Parameters.
The location defaults to the pickup location specified in the request.
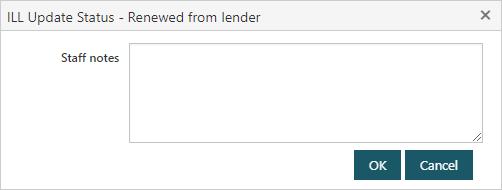
Mark an ILL as "Renewed from lender"
If the borrower requires the item for a longer you might renew the request. To do this:
- Select the ILL you want.
- Click Renewed from lender. You can add notes for staff if you wish.
- Click OK.
Mark an ILL as "Returned to lender"
When it's time to return the item:
- Select the ILL you want.
- Click Returned to lender. You can add notes for staff if you wish.
- Click OK.
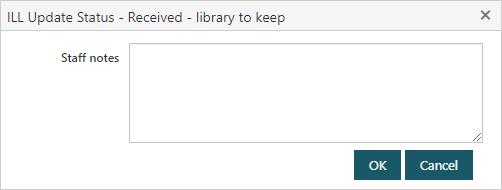
Mark an ILL as "Received - library to keep"
If you're keeping the item rather than returning it to the lender:
- Select the ILL you want.
- Click Received - library to keep. You can add notes for staff if you wish.
- Click OK.
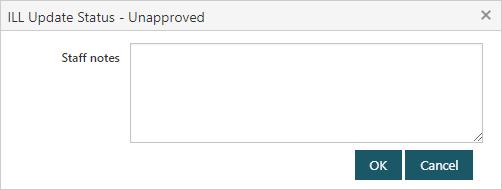
Mark an ILL as "Unapproved"
To mark ILL as unapproved:
- Select the ILL or ILLs you want.
- Click Unapproved. You can add notes for staff if you wish.
- Click OK.
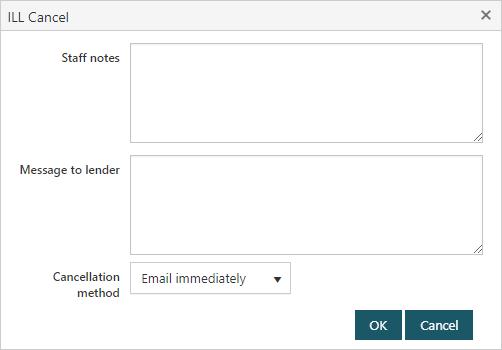
Cancel an ILL
To cancel an ILL request for a lender:
- Select the ILL or ILLs you want.
- Click the cancellation option you want.
- No longer required.
- Cancelled by borrower.
- Other lender supplied.
- You can add notes for staff and a message for the lender if you wish, and select the cancellation method.
- Click OK.