To display the Request List:
- Click a card on the Landing Page or
- Click Go to List on the Landing Page.
Here's an example Request List.

Add existing requests to the list
To add existing requests to the Request List:
- Click Add to List to display the search page, and find the request or requests you want. For example, you might search for all the requests assigned to you. When you have a set of records displayed, do one of the following.
- Click Select Set to add all the records in the set to the Request List.
- Click the checkbox next to the records you want, and then click Select Records to add just those records to the Request List. You can select records across pages. At the bottom of the browser you'll see the number of records selected. You can click Clear to deselect all the records.
- Display a record in full, and then click Select Record to add just this record to the Request List.
You can also add existing requests to the Request List using a SavedList.
- Click Add to List to display the search page.
- Click SavedList Search on the Operations menu, search and find the SavedList you want, and then view the SavedList records.
- Do one of the following.
- Click Select Set to add all the records in the SavedList to the Record List.
- Click the checkbox next to the records you want, and then click Select Records to add just those records to the Record List. You can select records across pages. At the bottom of the browser you'll see the number of records selected. You can click Clear to deselect all the records.
- Display a record in full, and then click Select Record to add just this record to the Record List.
The records in the Record List will still be there if you switch to another module (e.g. Cataloguing or Circulation) and then back to Requests again.
Sort the list
You can sort the Request List by clicking a column heading. For example, if you want to sort by status date, click the Status Date column heading once to sort the list in ascending order and then click a second time to sort in descending order.
Select requests
To select one request:
- Click the checkbox next to the request you want.
- Click anywhere in the row except the checkbox. This will automatically deselect any other requests that are currently selected.
To select multiple requests:
- Click the checkbox next to each request you want.
- Use SHIFT+Click to select consecutive requests. Click anywhere in the row except the checkbox. Click the first row you want, press and hold SHIFT and then click the last row you want.
- Use CTRL+Click to select specific requests. Click anywhere in the row except the checkbox.
Select or deselect the checkbox in the first column heading to select or deselect all the requests.
View a request
To view details of a request:
- Select the request you want.
- Click View or right-click and click View.
Edit a request
To edit a request:
- Select the request you want, and then click Edit. You can also right-click and click Edit.
- Make your changes.
- Click Save & Close to go back to the Request List.
Copy a request
To copy an existing request to create a new one:
- Select the request you want, and then click Copy. You can also right-click and click Copy.
Assign requests
To assign requests to a staff member:
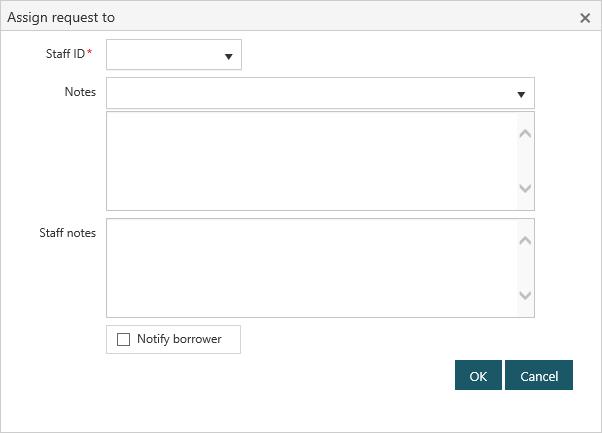
- Select the request or requests you want, and click Assign.
- Select the staff member, and (optionally) add any notes about the request. Any text you add under Notes can be seen by the requestor if they view their requests in OPAC. Any text you add under Staff notes is just for staff.
- You can choose to email the borrower that the request has been assigned for processing. The text under Notes is included in the email.
- Click OK.
The notes you can select when you assign a request are set up in the RQPN lookup table, and can be maintained using the Table Manager.
Once a request has been assigned you'll see the options to mark it as in process and complete it.
Mark a request as "In process"
If the request has been assigned you'll see an option to mark it as "In process".
This really only makes sense if you’re NOT going to complete processing straight away. If you ARE going to complete process straight away, it's probably not worthwhile changing the status to "In process" — you might as well wait until you’ve finished processing and set the status to “Completed”.
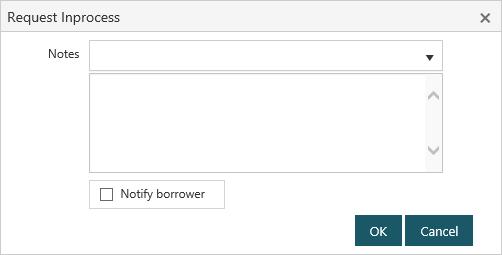
- Select the request you want, and click In Process.
- You can add a note if you wish. This can be seen by the requestor if they view their requests in OPAC.
- You can choose to email the borrower that the request is being processed. Any text you add under Notes is included in the email.
- Click OK.
Complete requests
If the request has been assigned or is in process you'll see the option to mark it as "complete". To do this:
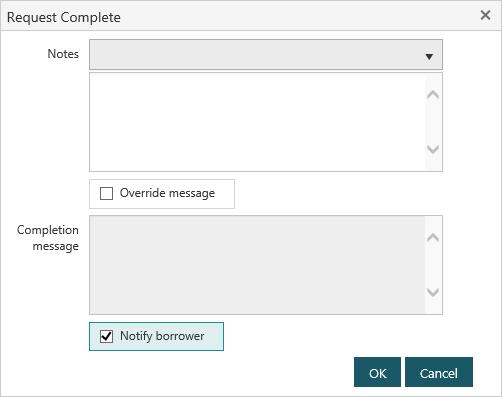
- Select the request or requests you want, and then click Complete. You can also right-click and click Complete.
- You can add a note and a completion message if you wish. These can be seen by the requestor when they view their requests in OPAC.
- You can choose to email the borrower that the request has been complete. Any text from the note and the completion message are included in the email.
- Click OK.
The notes you can select when you mark a request as "Complete" are set up in the RQMN lookup table, and can be maintained using the Table Manager.
Mark requests as "Unable to supply"
If the request is pending review, assigned or in process you'll see the option to mark it as "unable to supply". To do this:
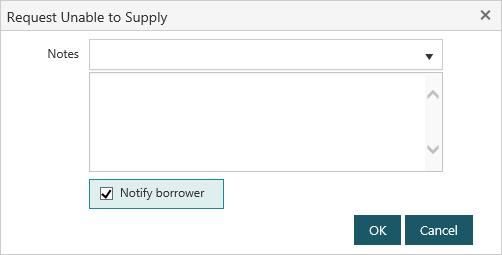
- Select the request or requests you want, and then click Unable to Supply. You can also right-click and click Unable to Supply.
- You can add a note if you wish. This can be seen by the requestor when they view their requests in OPAC.
- You can choose to email the borrower. Any text from the note is included in the email.
- Click OK.
The notes you can select when you mark a request as "Unable to supply" are set up in the RQUN lookup table, and can be maintained using the Table Manager.
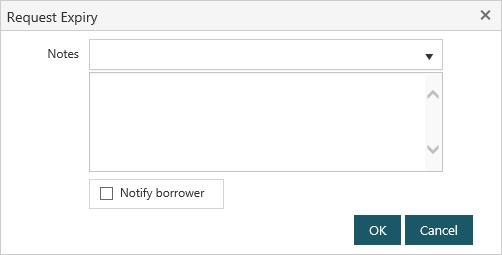
Expire requests
If the request is pending review, assigned or in process and the Requested date has past then you'll see the option to expire it. To do this:
- Select the request or requests you want, and then click Expire. You can also right-click and click Expire.
- You can add a note if you wish. This can be seen by the requestor when they view their requests in OPAC.
- You can choose to email the borrower. Any text from the note is included in the email.
- Click OK.
The notes you can select when you mark a request as "Expired" are set up in the RQXN lookup table, and can be maintained using the Table Manager.
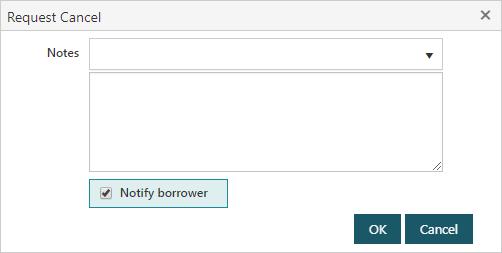
Cancel requests
If the request is pending review you'll see the option to cancel it. To do this:
- Select the request or requests you want, and then click Cancel. You can also right-click and click Cancel.
- You can add a note if you wish. This can be seen by the requestor when they view their requests in OPAC.
- You can choose to email the borrower. Any text from the note is included in the email.
- Click OK.
Notify borrower
You'll see the option to notify the borrower when you assign a request or mark it as "in process", "complete", "Unable to supply", "expired" or "cancelled".
You can also notify the borrower when you're editing a request.
- Select the request you want, and then click Edit. You can also right-click and click Edit.
- Make your changes.
- Click Notify Borrower.
You can also notify the borrower from the Request List.
- Select the request or requests you want, and then click Notify Borrower. You can also right-click and click Notify Borrower.
Remove requests from the list
Removing a request from the Request List does not cancel or delete that request. It simply removes it from the Request List. It can still be retrieved when you search for it in Staff Enquiry.
To remove unwanted requests from the Request List do any of the following.
- Click Remove All to remove all requests.
- Select the request or request you want, and then click Remove. You can also right-click and click Remove.